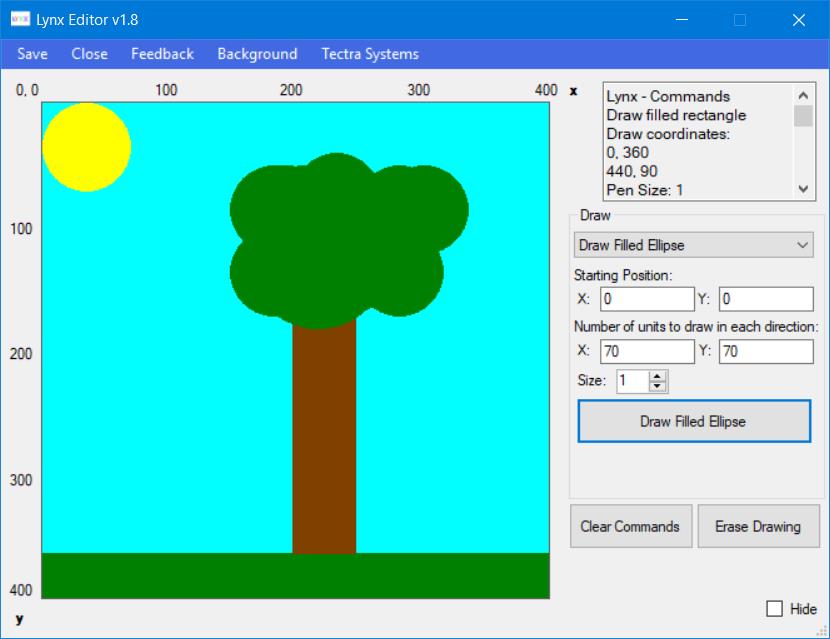
The fundamentals of drawing in LynxDrawing is one of the most important parts of Lynx. After all, it is a drawing tool. This wiki article will go over the fundamentals of drawing in Lynx, so you can master the math drawing tool.
|
|
Drawing a line
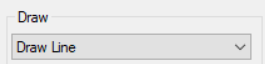
Let's start with the basics: drawing a line. To do this, make sure that the selected item in the top drop down menu is "draw line".
Below the drop down menu, you will see 4 text boxes. First, we'll talk about the first two text boxes, which are below the words "starting position". These two coordinates are where you want your line to start.

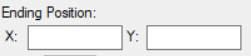
Then, look at the two text boxes under the words "Ending Position". These coordinates are where you want your line to end.
Enter in the coordinates that you wish to draw your line at. Then, click "draw line". You will be prompted to choose a color for your line. Choose whichever color you like. If you did everything correctly, your line should appear.
Tip: If you don't enter in coordinates and click draw line, you will get an error message.
Tip: If you don't enter in coordinates and click draw line, you will get an error message.
Line size
The line size control allows you to change the thickness of your line. If you use the arrow buttons, the size will go up to 30. If you want your line to be bigger, you can type in a custom amount.

Line style
At the bottom of the drawing panel, you might have noticed the style drop down menu. This menu lets you choose the style of your line. You can experiment with the different line styles. If you want a solid line, just select "solid" from the drop down menu.

Drawing rectangles and ellipses
Drawing lines was fairly easy. Now for the hard part: drawing rectangles and ellipses. Get started by choosing either "draw rectangle" or "draw ellipse" from the top drop down menu.

You will still have those same text boxes. You will notice that the text above the bottom two text boxes has changed.
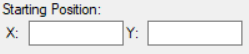
Figure 1
|
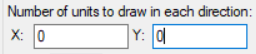
Figure 2
|
First things first, we need to decide which coordinates should be our rectangle/ellipse's starting position (figure 1). Setting the rectangle/ellipse's starting position works the same way as it did with the line.
Now, let's direct our attention to figure 2. Here's how it works:
The first text box (X) is how many units you want your rectangle/ellipse to go to the right.
The second text box (Y) is how many units you want you rectangle/ellipse to go down.
The first text box (X) is how many units you want your rectangle/ellipse to go to the right.
The second text box (Y) is how many units you want you rectangle/ellipse to go down.
This may seem a bit confusing, but you'll get used to it. Go ahead and try drawing a rectangle or ellipse. If you did this step correctly, a rectangle/ellipse should appear where you wanted it.
Filled rectangles and ellipses
Drawing filled rectangles/ellipses works the exact same way as drawing normal rectangles and ellipses. The only difference between the two is that filled rectangles/ellipses have color in the center of them, hence the name "filled rectangles/ellipses".
Congratulations! You've learned the fundamentals of drawing in Lynx. With this knowledge, you should be prepared to create your next masterpiece in Lynx. Have fun!
